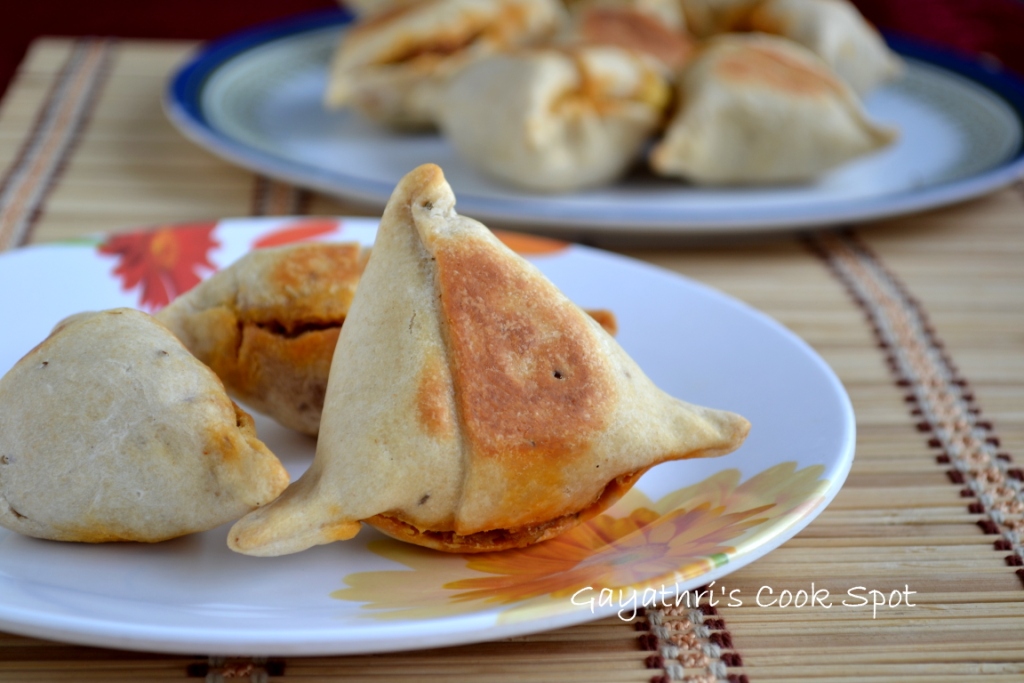
Today the recipe from Vaishali’s blog is a guilt free samosa which is baked. It uses only a tablespoon of oil for the batch of 20-22 small samosas. I love samosas and as it is deep fried I have not prepared it at home. Also I have been searching for a perfect stuffing recipe. The stuffing of samosas available at north Indian chaat shops is very different from the samosas available in cinema halls and other shops in Madurai. The stuffing which Vaishali has shared is a perfect match to those available at chaat shops and I am very happy. Green peas are source of calcium and to increase the calcium content I added crumbled paneer to the stuffing. Hubby was not very keen in eating the baked samosas. He prefers the fried ones, but I am thoroughly satisfied with this guilt free snack. It is better to serve it warm rather than hot because the outer cover of the samosa was very hard to bite when very hot. But when it became warm, the crunch was perfect. Serve it to those who are health conscious and they will surely be happy.
Recipe Source: Vaishali
Ingredients:
For The Dough:
All Purpose Flour/ Maida-1cup
Wheat Flour-1cup
Ajwain/ Omam-1/2tsp
Salt-to taste
Warm Oil-1/2tsp
Water-3/4cup
For The Filling:
Potato-4medium sized
Paneer-1/2cup(crumbled)
Green Peas-1/2cup(boiled)
Oil-1tbs
Cumin Seeds-1tsp
Coriander Seeds-1/4tsp
Red Chilly Powder-1tsp
Aamchoor-1/2tsp
Garam Masala-1/4tsp
Black Pepper-1/4tsp
Black Salt-1/4tsp
Roasted Cumin Powder-1/4tsp
Coriander Leaves-1/4cup
Salt-to taste(as the stuffing has black salt, add salt after tasting)
Procedure:
For The Dough:
1. Add all the ingredients and prepare a firm dough. Add water little by little. You may not use up all the 3/4cup of water.
2. Divide dough into 10 equal portions.
For The Stuffing:
1. Boil potatoes, peel and mash them.
2. Boil green peas and drain.
3. Crumble paneer.
4. Heat oil and add cumin and coriander seeds.
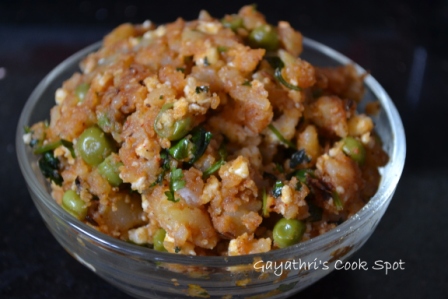
5. Add the mashed potatoes, peas, paneer and all the other ingredients.
6. Give a nice mix and remove from flame.
7. Allow it to cool.
Preparing The Samosas:
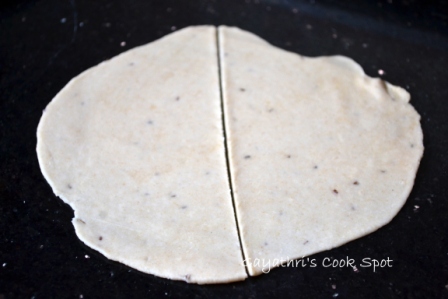
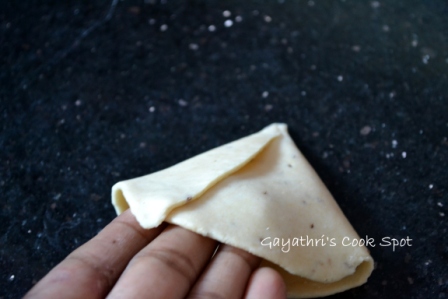
1. Roll out the ball into a thin disc.
2. Slice it into two equal ahlf circles.
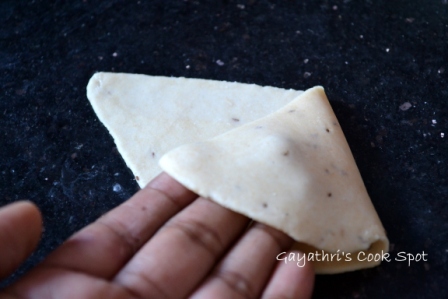
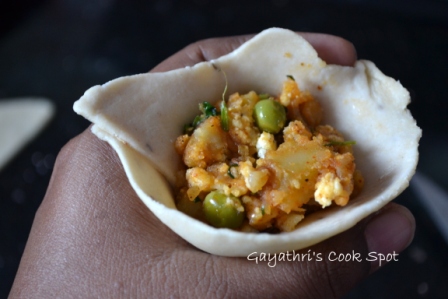
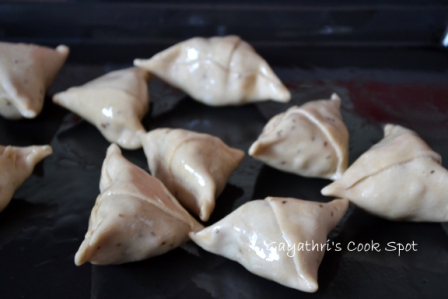
3. Fold as shown in the picture.
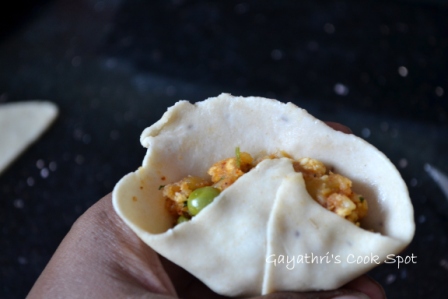
4. Place stuffing inside the cone.
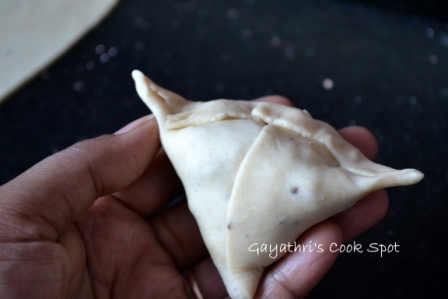
5. Seal the edges with a little water.
6. Grease a baking tray.
7. Preheat oven to 180C.
8. Brush all the prepared samosas with oil.
9. Place them on the tray and bake for 20-25minutes.
10. Keep on turning them every 5 minutes until all the sides are golden.
11. Remove from oven and bring them to warm temperature.
12. Serve with tomato ketchup.

Check out the Blogging Marathon page for the other Blogging Marathoners doing BM#19


Looks super tempting..I make the same way..the fact that it takes just so little oil is quite unbelievable right..though I would prefer to have the samosa browned..:)
Deliciously baked samosas! Gonna grab some now! 🙂
I love these baked ones..yes they are hard in the first instance..but ofcourse the fried ka taste will not come..somehow I still prefer these.Thanks for posting Gayahtri.
I first thought baked samosa could not be as good as the fried ones, but the ones you have made look good. I guess there would be a slight difference in taste, but I am sure they are good too. And perfectly made too.
wow the idea of baking a samosa is healthy and new too.
Delicious samosa
OMG these are baked and not fried! hard to believe. Love them dear.
I am hosting WTML All through August’12. Do send me your entries
yummy and healthy samosas.
They taste more like baked stuffed Baati , I was just a bit unhappy with the edges in these , but then you cant everything , can you 🙂
I tried them with Filo Pastry as well, but off course this is much healthier version.
So much of a healthy version which I would love to try!
Wow..this is really really appreciable.What a healthy way to do samasas.And they have came out perfect for you Gayatri..
only 1 table spoon of oil for 22 samosas… wowow!!! Bookmarked..
Sowmya
http://nivedhanams.blogspot.in/
Love the baked version.Guilt free snack for sure.And Happy friendship day to you too 🙂
hi first time here… you are having such nice space happy to follow you… if u have time plz visit my space…
VIRUNTHU UNNA VAANGA
Wat a guilt free baked samosas, they looks damn irresistible.
Awesome recipe… too healthy
ONGOING EVENT- “JASHN-E-AZAADI”
Preeti’s Kitchen Life
Samosas have turned out perfect. Frying is something I avoid too, baked samosas sound like a great option. Clicks are lovely.
The baked samosas looks so tempting….wish to have one now for tea….:-)
BTW, I have an award and an interesting game awaiting for you at my blog. Pls feel free to drop by to collect it. tq!! 🙂
http://www.art-of-arusuvai.com/
what a yummy filling and guilt free baked ones!!
NIce and healthy
that is one guilt free samosa!
such a beautiful recipe for the sake of offloading pleasure guilt
Hi, I tried baking these for the first time, once baked I took them out of the oven but they were very hard to bite, the inside filling was soft but the outside was a rock! Could not eat it, could you please tell me where I went wrong?
Hi, you must have over baked it. It doesn’t change colour so much. S try removing it a few minutes before..
Can I make it with substitute apl with atta?
Yes, you can..