Before you start exploring the vast ocean of cake decorating, I would like to share with you some of the basic tips you need to know to make a perfect cake. I have gathered all those tips I learnt during these years of cake decorating. Some I read online, some I saw in videos and some came with experience. I hope this post will help you if you are beginning your cake decoration journey.
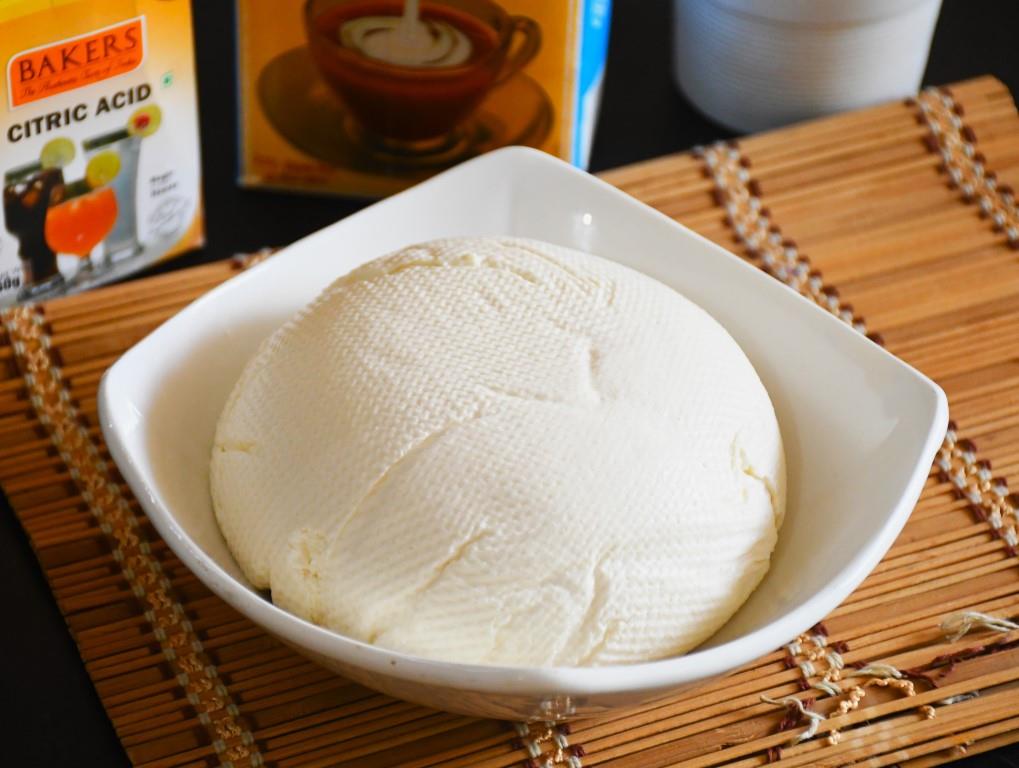
Cake decoration is an art. It is not that the cake looks beautiful outside, but it also needs to look beautiful inside too. I have seen some bakery cakes which look good but when you slice it, there won’t be defined layers and the interior would be a mess. I also found some videos where bakery guys decorate cakes. They just don’t care how it looks inside. And there would be loads and loads of cream to perfect all those irregularities.
Even I was like that when I started with decoration but I believe I have come a long way. The points I am going to discuss may seem so trivial, but trust me, they are so important. Even lining a tin with butter paper is so important though it may seem like a not so important point. Trust me on this. I have wasted so many cakes because of my laziness.
In this post I will be giving you the methods you need to use, but haven’t done any elaboration. To know how a technique is used please refer to YouTube videos. If I elaborate on techniques, then this post will become so lengthy.

The Recipe:
If you are going to bake regularly, make sure you have fool proof recipes for your cakes. Experimenting for an order is a big no. Before you start with your venture, do experiment with recipes and finalise on the perfect recipes which don’t give cracks on top, which has a wonderful texture and which is also good to taste. A beautiful cake which is too much sweet is not good. Find it out. Have them compiled in a book for easy reference. I always have both oil based cakes and butter based cakes in my basic cake varieties so that I can easily pair them with either cream or butter cream or ganache. And also make sure of the size of the cake a recipe will make. That will help you in deciding the amount of batter to make a particular cake. Write everything down. I have so many fool proof recipes in the blog. Check them out.

Baking The Cake:
So you have wonderful recipes. Now you need to bake them.
Use perfectly sized pans. Try to buy pans with straight sides. When I first bought the pans, I bought them with tapered sides and even now I find it difficult to trim the sides before decoration.
Grease and dust the pan thoroughly. Use paper lining so that you won’t have stuck cakes or broken cakes.
Make sure your oven’s temperature is fine. Very hot oven or warm oven will surely result in bad cakes even though you have a perfect recipe. Invest in an oven thermometer.
If possible use a wet towel strip around your pan to get a nice flat top cake. This will reduce wastage when you level the top.

Storing The Cake:
Once the cake is completely cool, wrap it in cling film and refrigerate for at least three hours. Do not stack the cakes one above the other. The weight of the cakes will tamper with the texture of the cakes that are below. Place them separately. As cakes are soft, they tend to crumble easily when you slice them. That is why you need to refrigerate the cake. It will make them firm and less crumbly while slicing.
You can even store the cake for a week in the fridge. If it is a huge cake, then do the cakes one day and the other procedures the next day.
Making The Frosting:
Choose the frosting to go with your cake. And just like the cake recipe, have fool proof recipes for frosting too.
A cake that needs to be served chilled is better frosted with cream.
The cake you are serving at room temperature can be frosted with ganache or butter cream.
If you are covering your cake with fondant, it is better to frost the cake with ganache or butter cream. Cream cakes cannot be covered with fondant. They can’t take the weight of the fondant, but you can always use fondant accents on them.
Have the frosting ready before you take the cake out of fridge.

Trimming The Cake:
After refrigeration you need to trim the top of the cake so that you have an evenly thick cake. Mostly the top of the cake has a different texture than the crumb, so it is better to remove it.
Always use a serrated knife to trim the cake. Use sawing motion to trim. This helps you to get neat finish on trims.
There are mini saws available to trim cakes. They are so handy. So if you don’t mind the cost, invest in it.
Even if you don’t have a serrated knife, you can still trim the cake. Use a thread. It also gives you neat finish. It is totally cost effective.
Soaking The Cake:
This step is completely optional. If you feel that the cake is slightly dry, you can use a simple syrup on the cake to give it some moistness. I do it mostly for cream cakes as they are served straight of refrigerator.
Sometimes, clients need cakes just like the bakery ones. The moistness of bakery cake comes from sugar syrup. So do not hesitate to add the syrup. It will only enhance the taste.
To make the syrup, boil equal quantities of sugar and water. Cool and use.

Cake Board:
Use good quality cake boards. The final look of the cake greatly depends on the board. So invest in some good ones. Unless you can do a perfect board, do not attempt it at home. You can even cover your cake boards with fondant to match your cake. But learn the proper technique.
And while placing the first layer on the board, add some frosting. This acts as a glue and saves your cake from sliding off the board.
Filling The Cake:
Every cake needs some filling between layers. I usually use the frosting as the filling and if I want some extra flavour I go for fruit jams/ chocolate chips, butter scotch chips or nutella.
You can even use fresh fruits, custards, creams and any filling you want but there is a technique involved.
Always pipe a thick rope of the frosting on the edge of the cake. Add the filling inside this. Never forget it. This is called as damming. If you forget this, the filling may seep out of layers marring the final look.
And when applying the filling make sure they are even. If there is too much filling on one side and too less on the other side, it will affect the final look. The cake may taper towards one end and it will take a lot of effort to make it even. So do it perfect while layering.

Cake Layers:
A cake is easy to frost when the number of layers are three or four. Any cake which has more than four layers will be so tough. The weight of the top layers may squish the cake below and the final cake will loose its shape. So if you are adding more than four layers, then it is better to add a corrugated board and some dowels in the lower cakes so that the weight of the top cakes are held by the dowels and the board without affecting the lower layers. Learn the art of using dowels if you want to master cake decorating. Straws and wooden dowels can be used for support.

Crumb Coat:
Once the cakes are filled and layered, it is time to crumb coat. Before crumb coat, make sure the cake is neatly stacked, its sides are perpendicular to the cake board and the top is level. If the cake’s sides are uneven, use a serrated knife to trim the sides. The crumb coat is an important technique which ensures that the final frosting is neat and clean. When I started my cake decorating, I always used to have crumbs in the final cake but I used to feel devastated when the finish was not good. But as I was just doing it for my daughter, no one cared about it. But when I read about crumb coat, it was an eye opener. My next cake was far more better. So I never take it for granted. I always do the crumb coat. It makes your decorating work so much easier. It binds all the cake crumbs and sets it so that when you do the final frosting, the crumbs won’t appear on it. Make sure to refrigerate the cake until the crumb coat is set firmly.

Final Frosting:
Now after the crumb coat is set, it is time to frost the cake. While adding the frosting, be generous. Always make a large batch of frosting. If you are colouring the frosting, it becomes really important you make a large batch. Because you can never get the same colour when you do it again. You can always use the left over frosting in other cakes.
Apply generous quantity of frosting on the cake. You will be removing the extra frosting so no worries. If there is very less frosting and if you use a scraper to finish the cake, you will risk the crumbs to be seen on the finished cake. You can check my videos on how I do the frosting and how I use a scraper to level them.
It is better to invest in a turn table if you are into serious cake decoration. Trust me, it saves you a lot of time and headache.
Check video to know how to finish neat finish in cakes. Practise it again and again. At first you may find it difficult, but it gets better with practise.

Decorating:
Now the cake is frosted, you can go on to add the decorations. It may be fondant accents, buttercream flowers or cream decors. If covering with fondant, allow the frosting to set before using fondant. When using ganache under fondant, I always leave it over night inside a box at room temperature for the ganache to set. But if you are pressed for time, you can always pop it into fridge and let it set.
If you are using a particular technique for decorating, never practise it on the cake. Do your home work. Practise it for a day or two before using it on the cake. It save you so much of heart ache. Keep yourself up to date with new techniques and practise them whenever you can. Use practise butter cream to practise different patterns. And invert a cake tin and use as a cake to learn.

Stacking Tiered Cakes:
If you are doing multiple tiered cakes, then you need to be really careful. The cake needs proper support. So place a cake board to the size of the cake below each tier. This will be held by the dowels in the lower tier creating a perfect support system. If you are taking it to another location, it is better to dowel all the tiers, but pack them separate and you can easily assemble the layers at the venue. But if you are transporting a tiered cake, then apart from the dowels in single tiers, add a centre dowel which runs the whole length of the cake. This will keep the cake tiers intact with out them sliding off.

If you are new to baking, check my Baking Basics Series (click to view page) to learn this wonderful art.
And here is a list of FAQ by readers and my answers to those queries – Baking 1001 – FAQ (click to view page)
I hope these points will be useful for you if you are interested in learning cake decoration. Patience and Practise help you in mastering the art. Good Luck and Happy Baking!!


Beautiful work!! Really appreciate your efforts of jotting down each minute points..
Really superb tips one can use right from starting to end. Being a new baker came to know many more things as well. Really a big thank you for such a helpful information.
Hi madam, I have a question regarding soaking cake with sugar syrup. I am not getting how much is sufficient sugar syrup for cake. I tried many times if I use after soaking immediately pastries tend to be bit dry. If I leave it one night in the fridge it will be bit moist. Can you suggest where I am going wrong. How can I get bakery style pastry. Thanks in advance.
For bakery style cakes, you need to add syrup until the cake is full of it. Just when you touch the sponge, the syrup should ooze out. Only then the cake will be bakery styled.
thank you for your tips very useful
Many thanks for sharing all your knowledge with us beginners Gayathri
Hi…..u r really good bakers for new bakers in cakes making.
Pls tell about nozzle …..which nozzles are mostly use in cake decorating.
Can you please give me the recipe of baking sponge cake…using cake gel….also basic sponge cake as we get in a bakery…as it doesnt come out that way when we bake at home….please !!
There are so many basic recipes in the blog. Please check the recipe index. As for using cake gel, I don’t use them in my cakes. So I am sorry.
Hi
Please suggest an online site for purchasing affordable cake boards & cake boxes.
Thank you
Check New Arife on facebook.
Thank you so much for such a detailed explanation. It’s really helpful