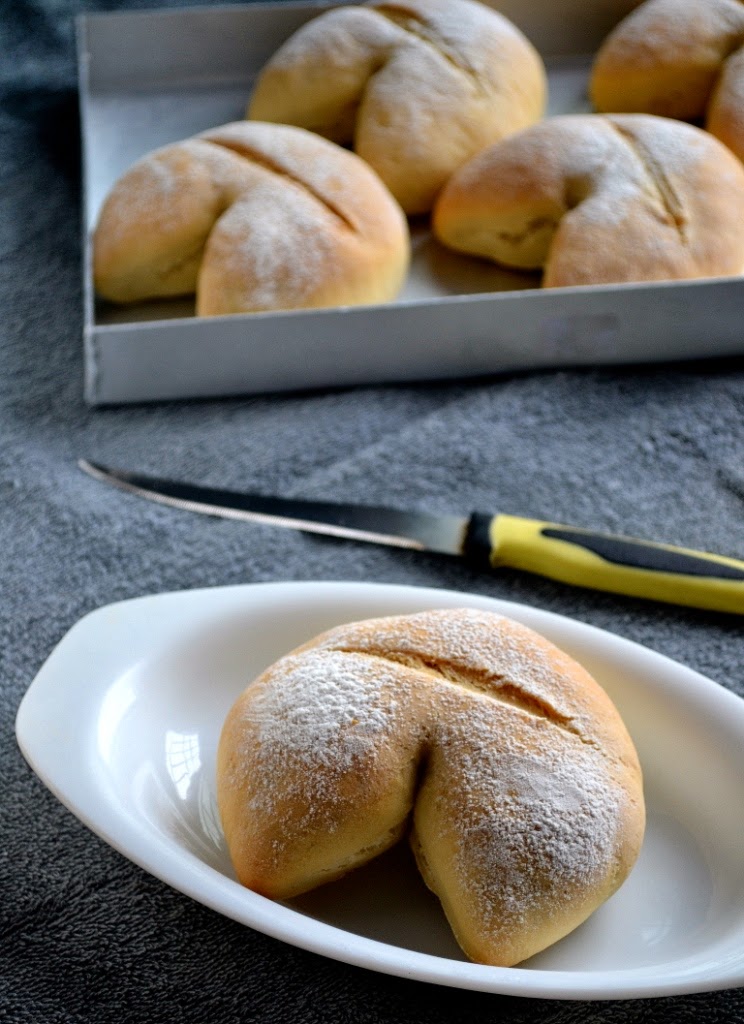
For this month’s Baking Partners challenge, Marisa of Thermofan suggested this very traditional bread from Spain. I will give you a short introduction to this bread. This is a traditional bread of the city Valencia in Spain. The origin dates back to seventeenth century. The inhabitants of Valencia’s Orchard used to bake this bread in a moorish oven (click on link to see the image of a moorish oven) or in the wooden stoves. Patequetas are baked for their important festival Fallas. Most Valencia’s bakers are requested to make patequetas during March. Marisa wanted to introduce this bread to all of us and in turn you readers will also know about this bread. When I first saw the recipe, I searched the web for any other details, but there was no other link with this name. So this recipe can be used for your future reference and I am so happy for having made this very traditional bread…
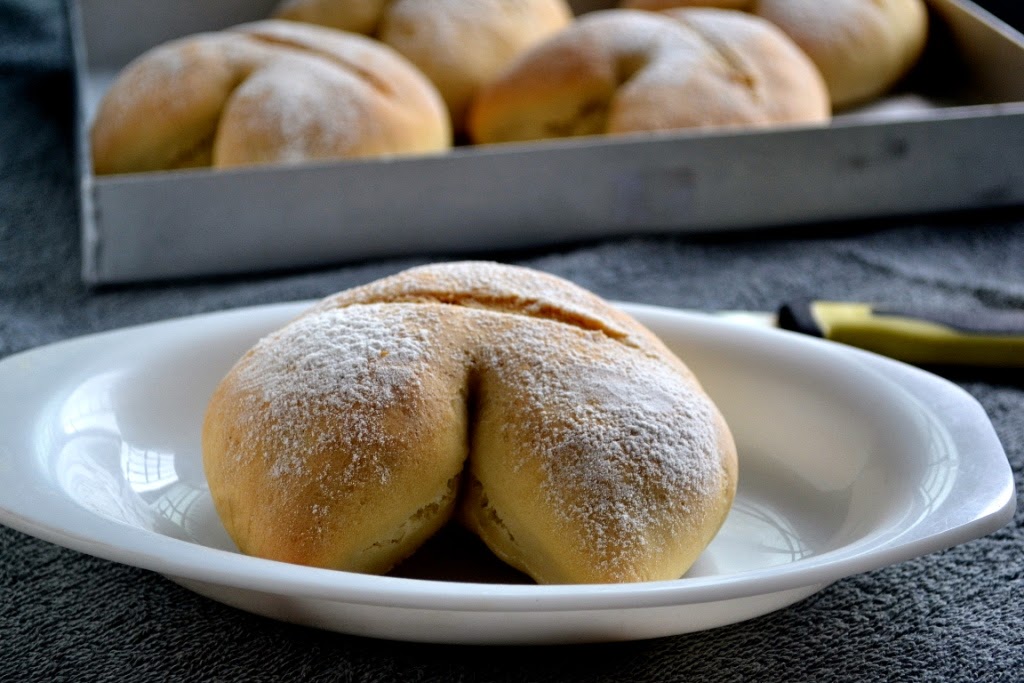
After going through the recipe, I made the ferment and kept in the fridge. I was supposed to keep it there for 48 hours and then use it in the bread dough. After 48 hours, when I checked the ferment, it was flat. So I just discarded it and made the ferment again. This time I waited only 24 hours and again the ferment was flat. This time I didn’t want to discard it. I just placed it on the counter and left it to return back to room temperature. It became bubbly and frothy and I was so happy to see it. I shouldn’t have discarded the 48 hours ferment as it would have developed more flavour. I didn’t want to postpone the bread making for another 24 hours and so made the bread with that ferment itself. It turned out perfect as far as I know. The bread had a soft crumb and firm crust. I thought my daughter would not taste this bread but to my utter surprise she loved it smothered with jam and took it for school snacks also. I made a sprouts salad and toasted the slices and topped them with the salad and had a filling breakfast.

Recipe Source: Marisa
Makes 5 Rolls
Ingredients:
Ferment:
Water-1/3 cup
Flour/ Maida-1/3 cup
Sugar-1/2 tsp
Instant Yeast-2 tsp
For The Dough:
Flour/ Maida-3 cups
Luke Warm Water-1 cup
Salt-1 3/4 tsp
Ferment – all of the above
Procedure:
1. Mix all the ingredients of ferment in a bowl, cover with a cling wrap and leave it in fridge for 48 hours. This helps in the development of flavour.
2. Take the ferment from the fridge on the day of bread baking and allow it to return back to room temperature. It will take upto 2 hrs.
3. In a bowl, add together flour, all the ferment and luke warm water and mix roughly.
4. Add the salt and knead into a firm dough.
5. Transfer to the counter and knead it for 10 minutes until smooth and elastic.
6. Divide it into 5 equal portions. Each weighed 150 gm.
7. Let it sit on counter. Cover with a kitchen towel and leave it for 30 minutes or until double in size.
8. Now roll each ball into a tight roll.
9. Slightly flatten the roll and with the help of a knife cut as shown in the picture.
10. Stretch the two ends away from one another and place on a greased baking tray.
11. Shape the remaining dough balls.
12. Cover with a kitchen towel and set it aside for 1 hour.
13. Preheat oven to 200C. Place an empty tray on the lower rack of the oven and let it heat up.
14. After an hour, using a sharp knife make a cut on all the shaped rolls. With a help of a small sieve, dust the rolls with flour.
15. Boil water in a pan.
16. After placing the tray of rolls in the middle rack, pour the boiling water into the hot tray and close the oven immediately.
17. Let the rolls bake for 30 minutes or until the crust is brown.
17. Let the rolls bake for 30 minutes or until the crust is brown.
18. Cool on wire rack and serve it according to your wish.

Mix ferment.

This is after 26 hours – the ferment at room temperature.

Mix flour, ferment and water.

Mix roughly, add salt.

Knead into a firm dough.

This is kneading after 5 minutes.

Knead for another 5 minutes to get a smooth and elastic dough.

Divide into 5 pieces. Cover and set aside for 30 minutes.

They must double in size.

Roll each ball into a tight roll.

Slightly press and cut as shown with a knife.

Pull both ends apart.

Arrange on a greased tray.

Cover and let it double. Cut with a sharp knife as shown.

Dust with flour.

Place an empty tray on the lower rack while preheating oven.

Place the rolls and pour the boiling water into the tray on the lower rack and close the door immediately.

Let the rolls bake with steam.

Remove from oven when the colour is brown.
Allow it to cool.
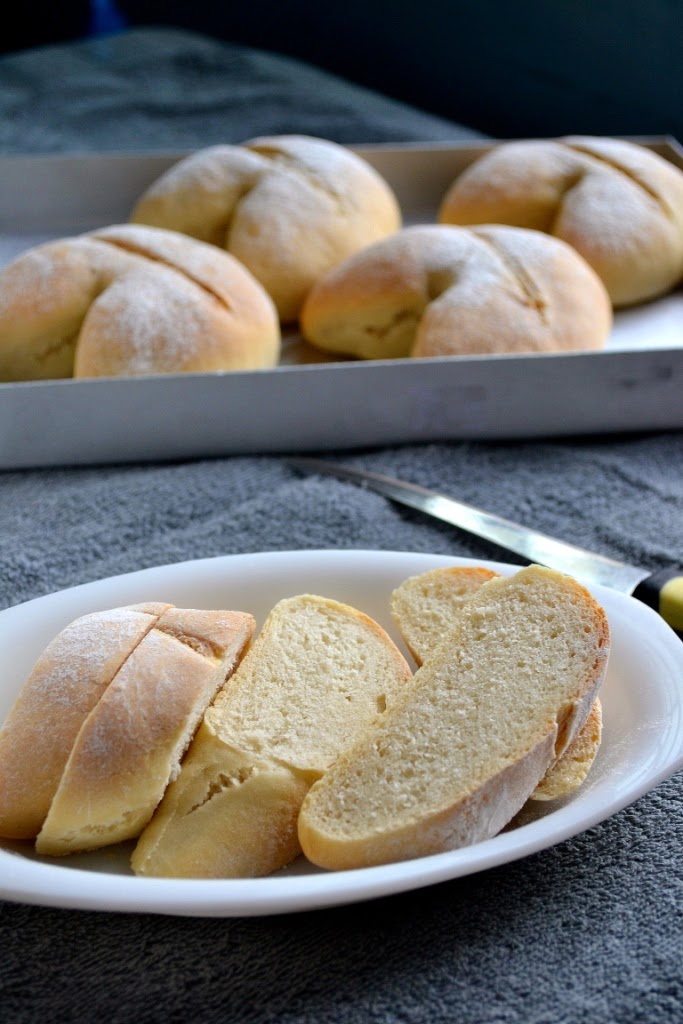
Slice it up or make a sandwich…


wow it looks… gayathri love all our bakes gal 🙂 rock on !
wow it looks… gayathri love all our bakes gal 🙂 rock on !
Gorgeous Pataquetas Gayathri. I had the same experience with the ferment :-).
Oh, my dear, I’m sorry for not having mentioned that the ferment needed to rest a bit after being in the fridge. I’m going to correct it. You shouldn’t have discarded the 48 hours ferment as it would have developed more flavor, I assure you because I’ve tested it.
I’m glad your daughter likes pataqueta. You can bake it more times and freeze them.
Thanks a lot for explaining everything about pataqueta, its origin and the recipe step by step. I assure you that there aren’t more posts about it, except the video I attach.
You also give more information about the recipe because you’ve used instant yeast and it proves that it also works with this recipe.
I’m very happy because your pataquetas look beautiful.
Cheers from Valencia
Very unique. Really nice and so well prepared.
Thanks for sharing.
Love the way bread looks, well explained
This Patequeta looks perfect.
Looks delicious you did really well.
Even with the ferment problems it looks like they turned out great! Your shaping is perfect.
Beautiful pictures and very well explained!! Good work 🙂
maam pls explain the steaming part,iam confused as to where to keep the bread rack on the next rack or on the lower trayif so where to pour boiling water
Hi Vijaya, The bread is placed in the middle tray and the deep tray is placed in the lowest tray. You need to boil water, place the bread in the middle rack, pull the deep tray in oven, pour the boiling water and close the door immediately. The already hot tray when comes to contact with the boiling water will produce a lot of steam inside the oven and this will be very useful for baking of the crust.