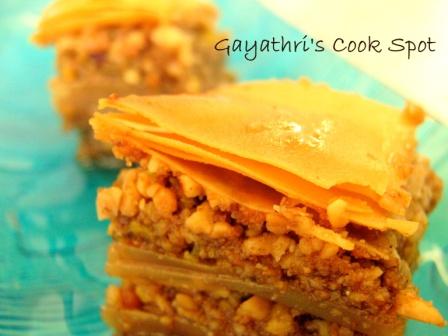
Erica of Erica’s Edibles challenged the Daring Bakers to prepare Phyllo Sheets from scratch and prepare the famous Baklava. I have always wanted to prepare baklava, but as we don’t get phyllo sheets here, I skipped it. But when I came to know that phyllo sheets can be made at home, I was the happiest person on earth. Preparing the sheets was really a challenging job. I got severe back pain after doing it, but after seeing the end result, I just forgot the pain. The baklava was so tasty and the phyllo sheets were so flaky. I am very sorry for the length of the post and number of picture. Please bear with me, if I test your patience. But to give you a clear picture it is really important..
We tasted 2 pieces each and I packed everything for my hubby’s colleagues. It has so much butter, nuts and sugar, I was afraid of eating more than two pieces. My H told that they were all gone in a minute. Appreciation is what we need at times to be happy. Okay, let us get on to the recipe..
Phyllo Sheets: For rolling the phyllo sheets we need a sleek, long rolling pin. But I have only the usual pin used for rotis. While I was thinking of a perfect rolling pin, I got this idea. My daughter has a tent in which she plays. This can be constructed with some rods. There are rods with varying lengths. I used one such rod for rolling. My daughter was afraid that mommy will not retun her tent rod. So as soon as I finished with rolling, she took it away from me to save it. At least she allowed me to use it.
Ingredients: APF/ Maida-1 1/3cups Salt-1/8tsp Water-1/2cup-1tbs Vegetable Oil-2tbs White Vinegar-1/2tbs
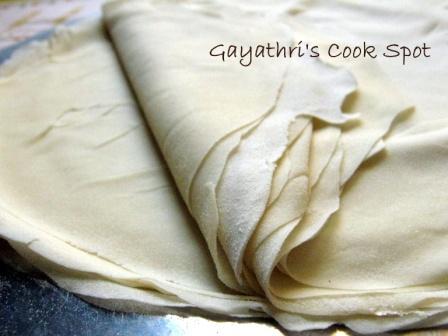
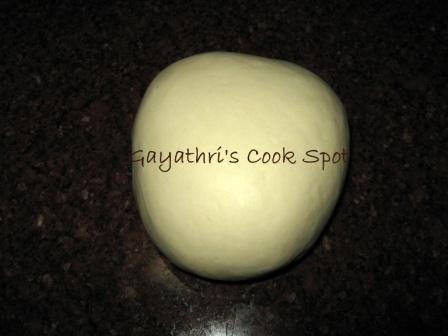
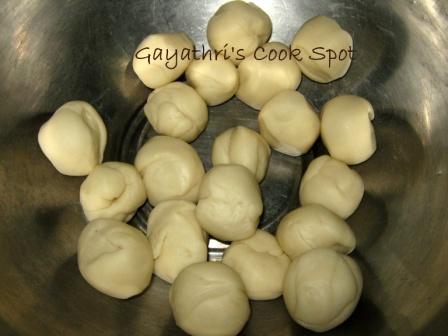
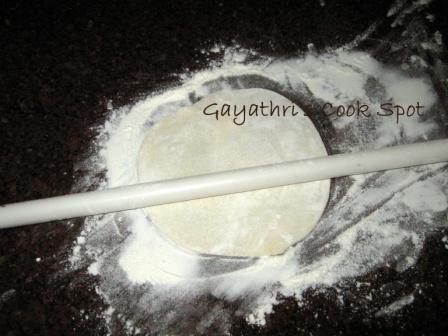
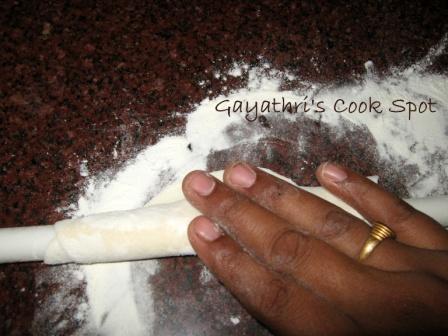
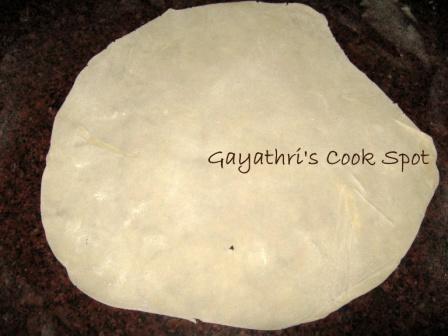
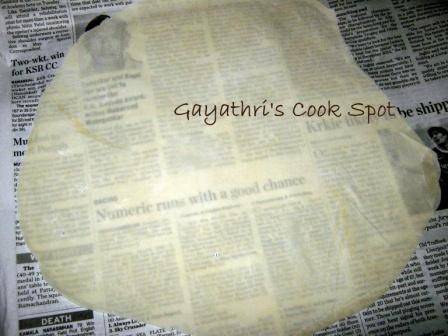
Procedure: 1. Mix all the ingredients and prepare a soft dough. 2. Apply oil on dough and place it in a bowl. Cover with cling wrap and set it aside for 2 hours. 3. Knead the dough for 5 minutes. Divide it into equal portions. I made 20 balls out of the dough. 4. Dust the counter with flour. With a sleek roller roll out the dough into a small circle. 5. This process need lot of flour for dusting to avoid sticking of the circle. 6. Roll the circle on the rolling pin as shown in the photo. 7. With both palms, apply pressure on the pin and roll it. 8. Now unwrap the circle from the pin. The circle will be little thinner and little larger. 9. Again roll the circle on the pin and roll the pin applying pressure on the pin. Unwrap the circle. 10. Repeat this process until you get a very thin sheet without tearing the sheet. 11. Place it on a butter paper and cover with another paper to avoid drying of the sheet. As the sheet is very thin it tends to dry faster and will become brittle. 12. When placed on a news paper, the prints should be seen. The sheets must be very thin. 13. You can also prepare these sheets and roll it on a parchment paper and cover with cling wrap and freeze it till further use.
Prepare dough
Divide into small pieces.
Roll each ball into a circle
Roll the circle on the rolling pin
Use both palms and apply pressure on the circle while rolling the pin
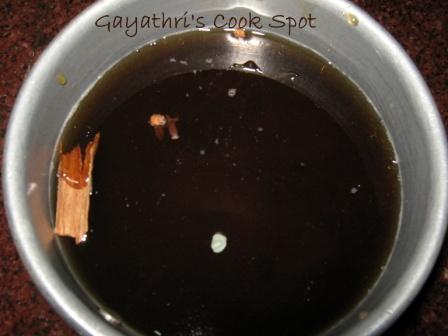
Procedure: 1. Take all the ingredients in a sauce pan. 2. Mix it well and bring it to boil. 3. Switch flame to low and allow it to boil for 10minutes. 4. Strain the syrup in a metal strainer and allow it to cool.
Take all the ingredients in a sauce pan
Boil it on low flame for 10minutes and strain it
Filling: Ingredients: Almonds-3/4cup Pistachios-1/2cup Peanuts-3/4cup Walnut-1/2cup Brown Sugar-2/3cup Cardamom Powder-1tbs
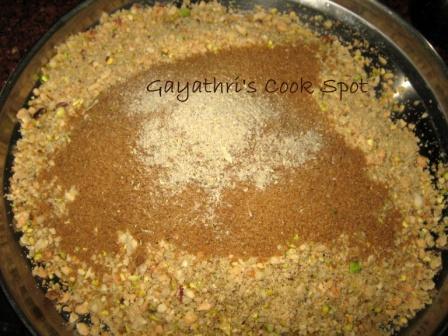
Procedure: 1. Add hot water to almonds and set it aside for 20minutes. Remove skin. 2. Roast peanuts on medium flame till golden brown. 3. Remove skin after cool. 4. Roast walnuts till golden brown. Let it cool. 5. In a mixer grinder grind all the nuts to a coarse powder. 6. Add brown sugar and cardamom powder and mix well.
Mix all the roasted, powdered nuts with sugar and cardamom powder
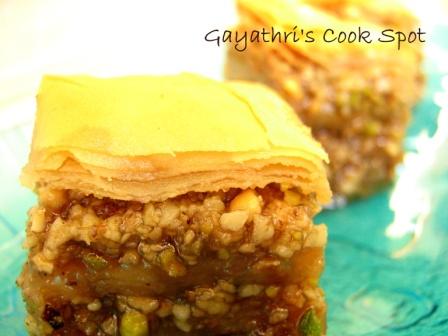
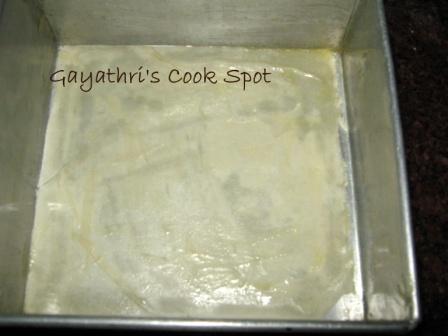
Procedure: 1. Cut all the sheets to the baking dish’s size. I used a square cake tin which is 6″*6″. 2. Apply ghee on all the sides of the tin. 3. Place a sheet inside the tin and apply a coat of ghee. 4. Keep another sheet on it. Apply a coat of ghee. 5. Use 5 sheets to layer finishing with the ghee layer. 6. Add 8tbs of the filling (the filling layer should be 0.5cm high)on top of the sheet. 7. Repeat another 5 layers of the phyllo sheets with ghee in between the sheets. 8. Totally there should be four phyllo sheet layer and three filling layers in between. 9. After finishing with the layering, apply generous amount of ghee on the top. 10. With a knife, cut out desired shapes. This need not be fully cut now. 11. Preheat oven to 180C. 12. Bake the baklava for 15 minutes. Remove from oven and cut it till the bottom. 13. Bake for another 15minutes or until the top is golden brown. 14. Remove from oven and immediately pour the cool syrup on the hot baklava. 15. You will hear a sizzling sound when the syrup meets the baklava. 16. Add syrup inbetween the cuts. The baklava will absorb the syrup immediately. 17. The amount of syrup depends on personal preferences. If you want a flaky baklava, add little syrup. If you want a juicy and sweet baklava, then add the syrup untill the baklava is fully immersed in syrup. 18. Allow it to cool overnight. 19. All the syrup will be absorbed by the inner layers by this time. 20. Now slice it and serve. 21. I had the pieces of phyllo sheets remaining after the trimming process. I also had extra filling and syrup. 22. So I prepared another baklava in a small circular cake tin. I just patched the pieces to make layers. 23. The final product was very nice and you couldn’t distinguish between the two. So I avoided wasting those cut out pieces of the phyllo sheets.
Cut the sheets to the size of the baking dish
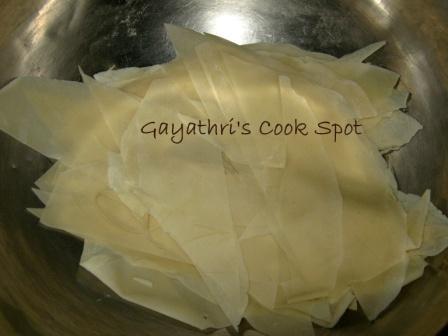
20 sheets ready
Apply ghee and place a sheet on it. Make 5 layers of phyllo sheet and ghee
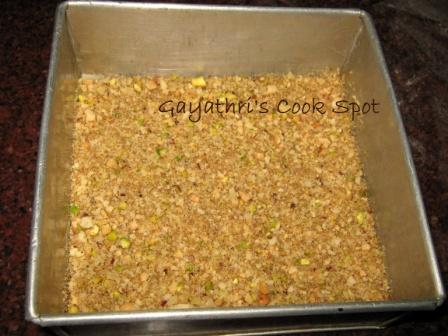
Add a layer of the filling
Repeat layering
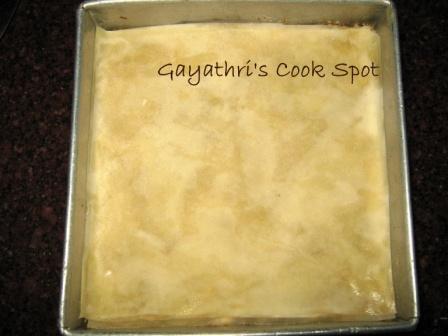
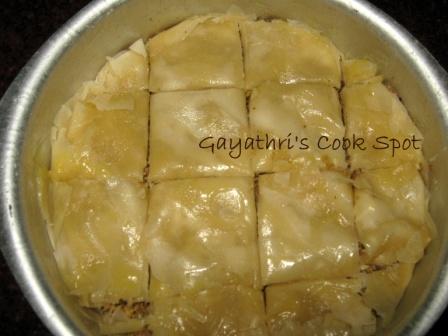
Finished layering
Cut to desired shape and apply generous amount of ghee
These are the pieces left out after trimming the sheets
Patch it to form a layer
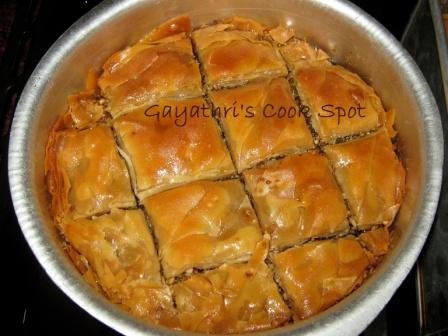
This is the baklava prepared by patching
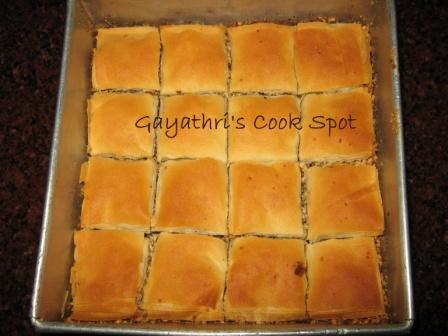
Bake till golden brown
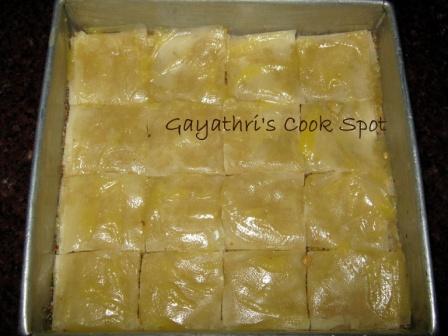
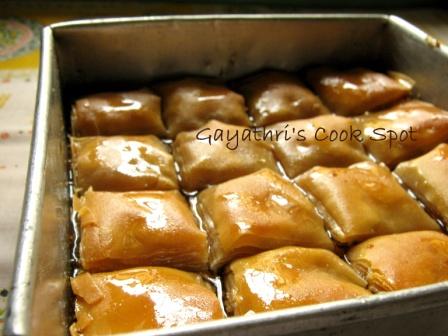
Pour syrup
Syrup poured until the top layer is immersed
Patch worked baklava. You couldn’t see the difference
I love painting, dress designing and of course cooking. This blog which started as an online cookery book has given me a great insight into baking and has transformed me into a home baker who is now thriving to learn a lot about cakes and decorating techniques. This blog has thousands of tried and tasted vegetarian recipes around the world and eggless bakes.


They are simply awesome! my favourite sweet of all time 🙂
Hi!
That’s a very delicious sweet!
Hey very delicious sweet and great effort to get it so beautifully…
really awesome work……..really wants to try out the phyllo dough……….thanx for sharing dear…
wow so tempting !! looks so wonderful !!
looks wonderful innovative everything from scratch delicious looking dessert
Super irresistible.. Superb clicks… Great job..
Great work Gayathri ~ I am totally amazed by your patience!! They came out super duper perfect!
US Masala
It looks perfect. Thanks a lot for the lovely pictorial, which makes it easy for dummies like me. Your post make it sound do-able.
Oh gal,u rock..Wat a great efforts Gayathri, ur baklavas looks gorgeous,highly inviting and irresistible..
சூப்பர்ர் பக்லவா,ரொம்ப பொறுமையா செய்துருக்கீங்க..
Tiring job, but you make it look simple and delicious. Great work, Gayathri!
Yum ….looks so gud …your idea is wonderful
Your phyllo sheets are spot on and the baklava looks delicious! Well done on your challenge 🙂
baklava looks yummy
The yummy looking baklava makes all your effort worth it!
Those are beautiful layers! And your baklava looks so delicious, great job!
looks very delicious!!
wow, Looks delicious & perfect! Lovely pics!
wow delicious
Well done! These baklawas looks super yummy!